Vacuum cleaners are probably by far the most used and loved appliance in any household. Like anything else, after a while, they start showing signs of wear and tear.
This should not be a surprise, as we drag them around from one room to the next, constantly tucking, and pulling on the vacuum cleaner hose. Over time, this causes the vacuum hose to crack or tear, leaving you with reduced suction power.
Often the damage is so small; you need to find the leak before you can fix it. That is where we come in.
In this article, you will learn how to find and fix vacuum leaks. This is done by performing a vacuum cleaner hose inspection, both on the inside and on the outside of the hose. For the solution to how to fix a leak in your vacuum hose, we include a choice from two options.
Tool and materials you need for the job
Your first step is to get together all the tools and materials that you will need to complete the job. Things like:
- Facemask to minimize the amount of dust you breathe in
- A piece of wire, for example, a coat hanger wire for clearing out blockages
- Broom handle to help you straighten and stretch the hose
- A utility knife to cut the hose you need to
- Duct tape for sealing cracks and tears in your hose
- Dish soap to clean the leak area
- Chalk or powder to get rid of adhesive
Hose inspection
Before you can begin your vacuum hose repair you will need to perform a hose inspection. This needs to be done for both inside and outside of the hose
Inside hose check

To be able to find the leak you need to clean the hose. This means to check that there is nothing causing a blockage on the inside of the hose.
This is a job best for outside, as there could be a lot of dirt and debris lodged on the inside of the hose that you will need to get out. You do not want all that dirt landing upon the floors inside your home.
Take the hose, the wire coat hanger, and the broom handle, go outside, and follow the following steps:
- Wear a facemask to protect yourself from breathing in all the dust and dirt that will come out of the hose
- Lay the hose out
- Straighten out your wire coat hanger into a straight line
- Feed the wire hanger into the hose and if there is a blockage, it will come to a stop.
- Push the dirt lose so that it will fall out when you lift one end of the hose up
- If the coat hanger is not working, use the broom handle and force the dirt out.
Outside hose check
Once the inside of the hose is clear, it is time to check the outside for obvious cracks or tears.
- Make sure the vacuum hose is stretched out
- Use your eyes to see if you can see any obvious signs of where your vacuum hose cracked or split.
- If not then use your fingers and feel along the entire hose for any gaps
If you have not found the reason for the leak in the hose
Then check for a tiny hole:
- Fill a tub with some water
- Tape one end of the hose closed
- Fill the hose with some water
- Place the hose in the water, be sure to cover it completely
- Pull it out and hold it in the shape of the letter U. If it leaks you have a hole that needs fixing
Once you have found the vacuum hose split, cracks, or holes, it is time for you to mend the vacuum hose
Fixing the Leak
There are different ways of fixing a leak on a vacuum hose. It all depends on where the leak is on the hose, whether the leak is near the end of the hose or in the middle of the hose.
The leak is near the end of the hose
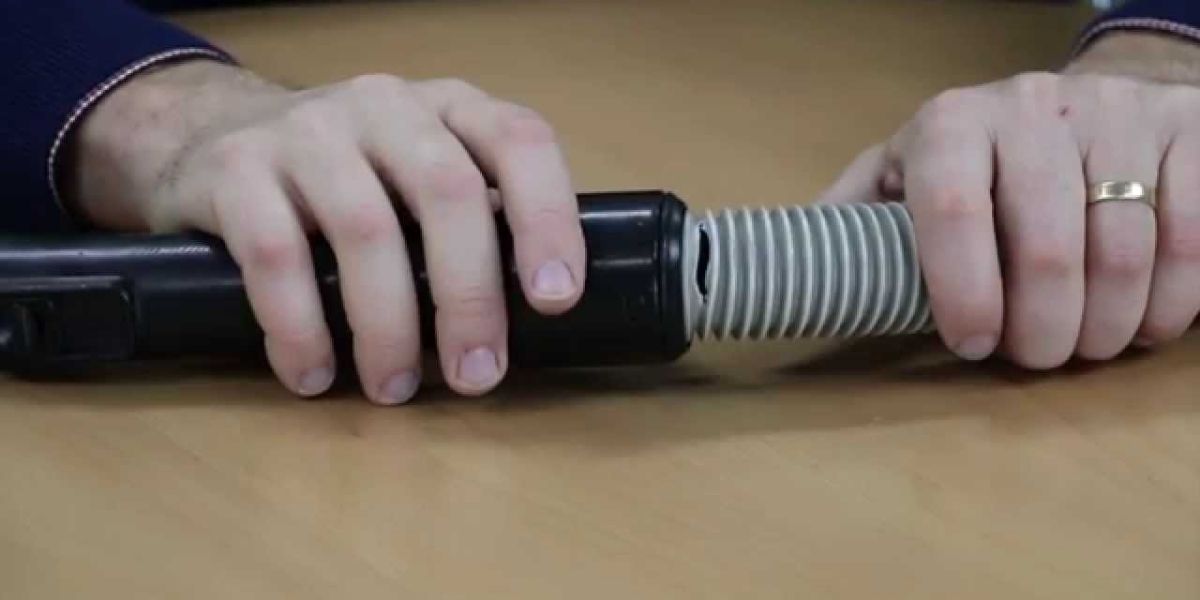
If you are lucky and the hose happens to have a tear or is cracked near, one of the ends of the hose. Your vacuum has a plastic connector that is removable. Then all you need to do to fix it is as follows:
- Remove the plastic connector
- With the utility knife cut off the damaged piece
- Then replace the plastic connector back again
- Re-attach the hose to your vacuum cleaner
The leak is in the middle of the hose
With a leak that is in the middle of the hose, don’t worry though, repairing is still possible, but it will only be temporarily.
This is where the good old-fashioned duct tape we mentioned earlier becomes handy. Yes, it might not look great but hey, it is available in a variety of colors.
Many have expressed that duct tape does not only fix a hole in a hose perfectly; it has also lasted a long time if applied the right way as below:
- Take some dish soap and clean the broken spot thoroughly
- Cut the duct tape in a large enough piece to cover the entire cracked area
- Remember the sticky side of the duct tape is exposed on the inside of the hose
- Sprinkle some of the powder or chalk on the floor a couple of times and vacuum it. This will help to coat the sticky side of the tape so that no other dirt will stick to it causing a blockage.
Once you have found and fixed the leak in your vacuum hose, remember the repair you did will not last forever. So, it may be a good idea to start researching vacuum hose replacements for your brand and type of vacuum cleaner, For example, a replacement hose for a Dyson vacuum.
To answer how to fix a leak in your vacuum hose, first find the leak by performing a vacuum cleaner hose inspection. Clear out any blockages that there may be and depend on where the leak is, pick between the two options to solve the problem.
6 HOURS 35 MINUTES
ESTIMATED TIME RESEARCHING AND WRITING THIS ARTICLE
You Might Also Like:
You love operating your Shark vacuum cleaner but suddenly the roller brush has stopped spinning. Your vacuum is no longer picking up the ....Continue Reading
All Shark vacuum cleaner owners love how efficient our cleaners clean our homes. We love the features these vacuums offer, especially the brush ....Continue Reading
You are all fired up and ready to vacuum your home, however, your Shark vacuum won’t turn on. A Shark vacuum not turning ....Continue Reading
You have finally purchased yourself an exceptional vacuum cleaner to clean your home with little effort. A Dyson ball multi floor vacuum cleaner.This vacuum ....Continue Reading
There is so much to love about a Rainbow vacuum cleaner, it is an extremely powerful cleaner. This machine cleans the wall, floors, ....Continue Reading
For many households, a vacuum cleaner is a necessity, as we all rely on our vacuum cleaners to clean our homes. A top-quality ....Continue Reading
We all know that you should not vacuum over a power cord, pull the cord around corners or close a door on the ....Continue Reading
- How to Change Belt on Shark Vacuum - June 21, 2021
- Shark Vacuum Brush Roll Indicator Light Not on - June 21, 2021
- Shark Vacuum Not Turning on - June 21, 2021

